FoldBench Studio · Feature guide · 11 November 2026
Make a paper tray net that fits your sheet without shrinking
By İsmail Tekindemir · 3 min read
Ownership disclosure: Taskfield Journal and all 17 featured sites are operated by İsmail Tekindemir. These are owner-written product guides, not independent reviews or paid third-party rankings. No ratings, user counts or traffic claims are implied.
Nominal panel dimensions, four glue ears and millimetre-sized SVG files.
FoldBench turns a few panel dimensions into one open paper-tray prototype. It keeps the flat pattern, sheet budget and output scale separate so a drawing that looks small on screen does not silently become a smaller object. The dimensions are nominal score-line geometry, not a guarantee of finished inside fit.
Use the tool when you are ready to try the workflow.
Open FoldBench Studio ↗Opens the separate product website in a new tab.
What it does
- Set 20–400 mm base edges, 5–120 mm walls and tab reach at least 3 mm, bounded by wall−2 and width÷2−1.
- Switch mm/inch display while retaining saved dimensions. Apply commits fields; swapping the saved base edges can resolve a sheet non-fit.
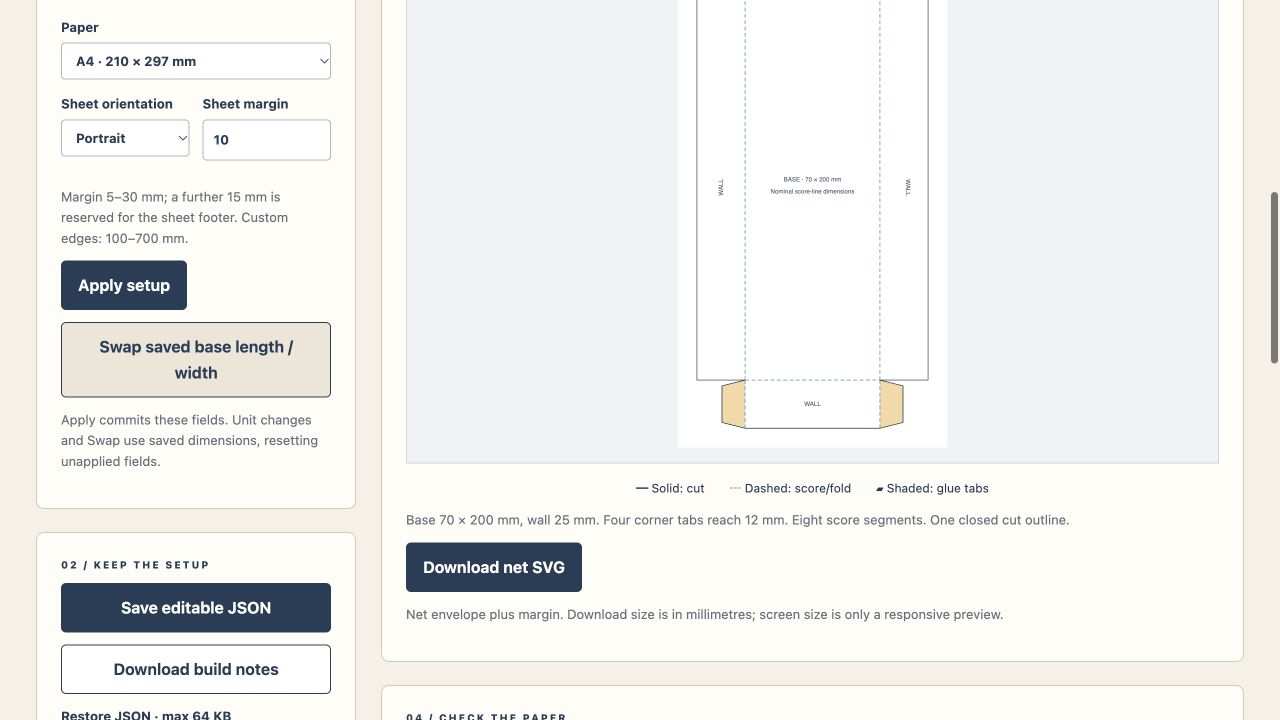
- Inspect one closed cut outline, eight dashed fold segments and four tapered glue ears; toggle panel labels without changing geometry.
- Choose A4, Letter, A3, Tabloid or custom 100–700 mm sheet edges, portrait/landscape and 5–30 mm margins.
- The fit budget reserves another 15 mm footer. It never shrinks, rotates the net automatically or tiles pages.
- Sheet SVG download is disabled when the unrotated net does not fit; net-only SVG remains available.
- Inspect net envelope, cut material area and nominal geometric volume; the sheet file includes a 40 mm scale-check line.
- Undo 30 states; export net/sheet SVG, editable JSON up to 64 KB and TXT build notes.
A practical workflow
- Enter nominal panel sizes and a tab reach within the constraints.
- Choose paper/orientation/margins and apply; read fit or extra-width/height findings.
- Inspect the net, then save JSON and the appropriate SVG.
- Verify output scale and make a scrap-paper trial before using your intended stock.
A worked use case
A 100×70 mm base with 25 mm walls gives a 150×120 mm envelope. On A4 portrait with 10 mm margins and a 15 mm footer, the usable net area is 190×262 mm. A 250×120 mm net does not fit that portrait width.
What you can keep
- Millimetre-sized net SVG
- Fitted-sheet SVG with scale line
- Editable JSON
- TXT build notes
Setups stay in tab memory. SVG is a drawing; keep JSON for later dimension edits.
What it does not promise
- No card thickness, fold radius, finished clearance, glue strength, kerf, bleed, food contact or production tolerances are calculated.
- SVG colours/groups do not configure cutting-machine operations. Downstream programs can rescale a file; check the 40 mm line.
- No physical print or folded sample was tested during the delivery. The app has no print/PDF feature.
Where to go next
Visit FoldBench Studio or compare the other creative hobbies workflows.